
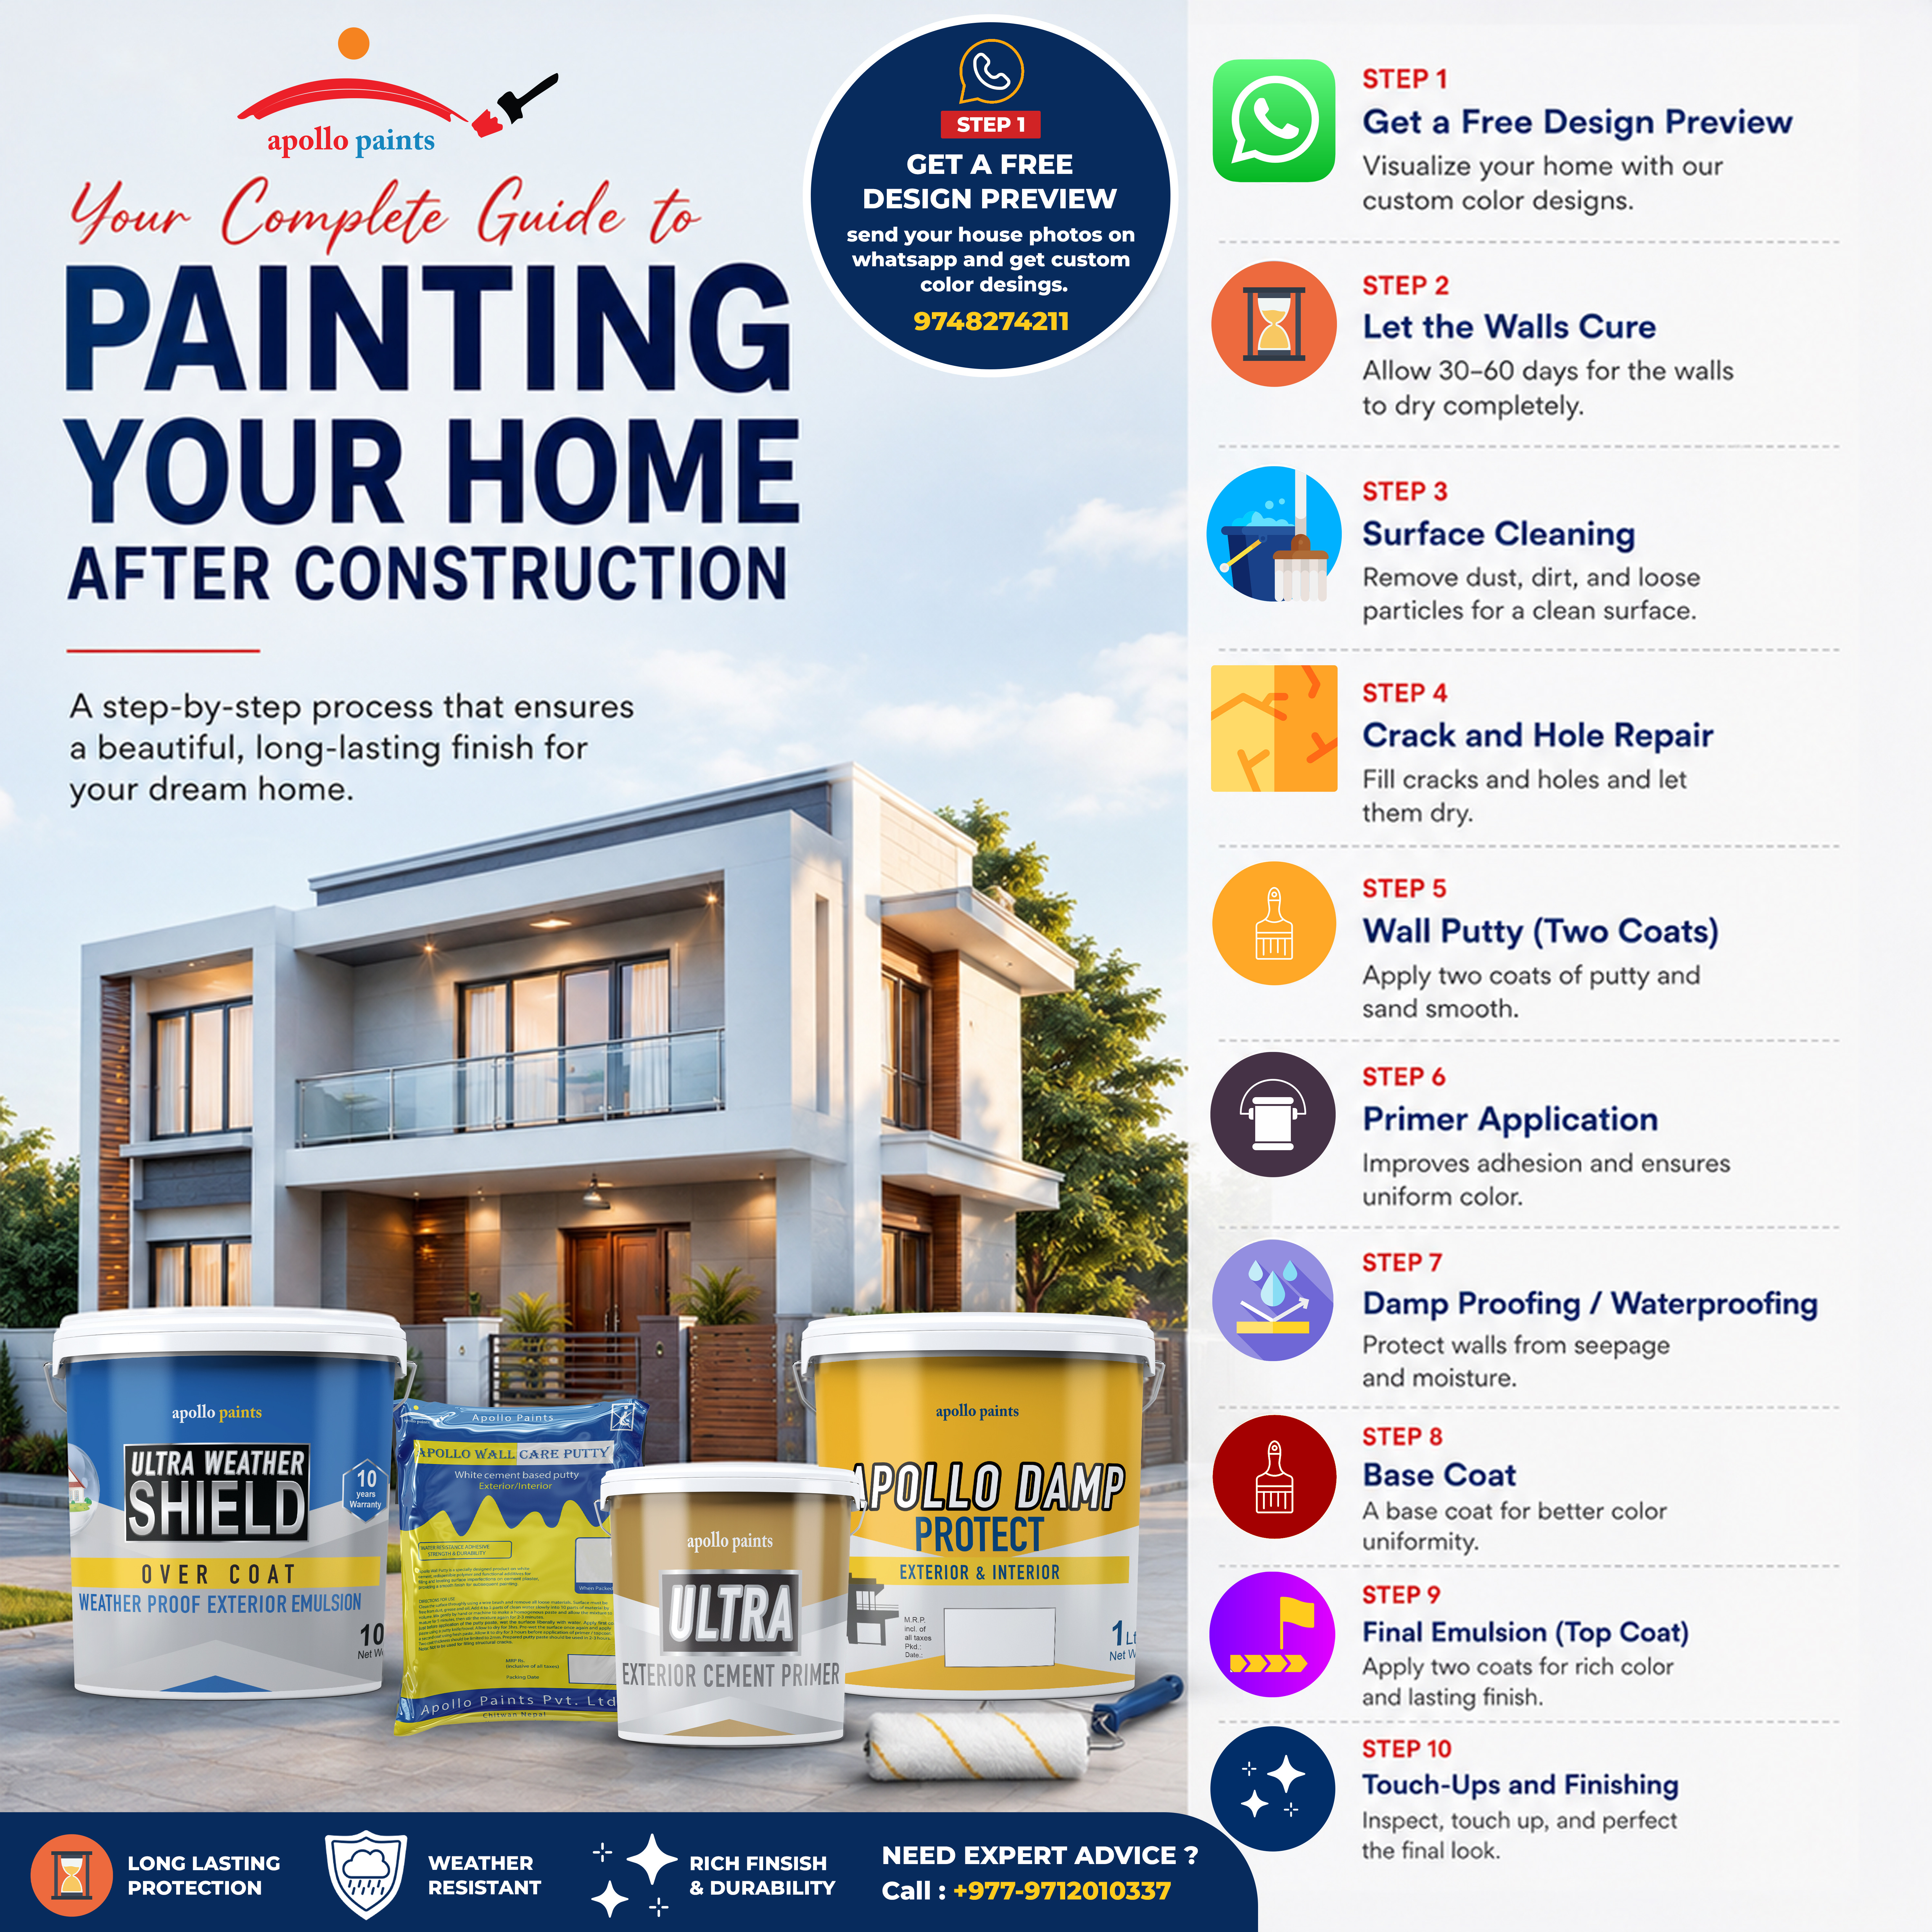
So Your House Is Built — Now What? A Real Talk Guide to Painting Your New Home
Congratulations, first of all. Getting a house from foundation to finished construction is no small thing. But before you start hanging curtains and picking out furniture, there's one job that quietly shapes how the whole house feels: the paint.
It's tempting to think of painting as the easy part — pick a color you like, slap it on, done. In reality, a good paint job is 80% preparation and maybe 20% actual painting. Skip the prep and even the best paint in the world will look patchy in a year. Here's how the process actually unfolds, from bare walls to that final, satisfying coat.
Step 1: Start With a Free Design Preview
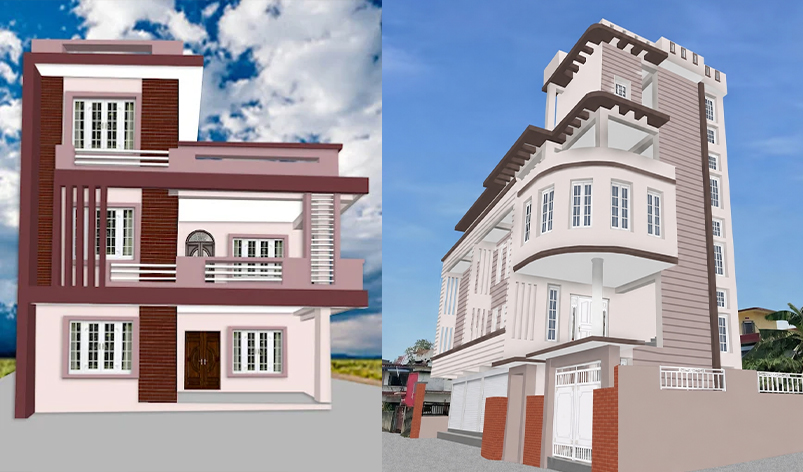
Before anyone even opens a paint tin, it's worth seeing how your house might look in different colors. Apollo Paints offers a free service for this — just send clear photos of your home to their House Design & Preview Team on WhatsApp (9748274211), and their team will put together a few color options based on your home's actual structure.
It sounds like a small thing, but it saves a lot of heartbreak. Colors that look great on a swatch card can look completely different across an entire facade, and this step lets you catch that before you've committed to anything.
Step 2: Be Patient — Let the Walls Cure
This is the step everyone wants to skip, and it's the one you really shouldn't.
Freshly plastered walls hold a surprising amount of moisture, and that moisture needs somewhere to go before paint goes on top. Paint too early and you trap it inside the wall — which shows up later as peeling, bubbling, or even fungal growth. Give your walls 30 to 60 days to cure properly. Yes, it's a long wait when you're excited to move in, but it's cheaper than repainting six months later.
Step 3: Clean the Surface
Once the walls have had their curing time, they need a proper clean — dust, dirt, oil stains, loose plaster, all of it. This isn't just cosmetic. Putty, primer, and paint all need a clean surface to actually bond to, and skipping this step is one of the quiet reasons paint jobs fail early.
Step 4: Fix the Cracks and Holes
No wall comes out of construction perfectly smooth. Small cracks, dents, and uneven patches are normal, and they get filled in with crack filler or Plaster of Paris. This needs to dry completely before you move on — rushing it just means the patch shows through later.
Step 5: Wall Putty — Two Coats, Not One
This is where the wall really starts to transform.
A first coat of Apollo Wall Care Putty goes on, dries, and gets sanded smooth. Then a second coat follows the same process. It's tempting to think one coat is enough, but the double-coat approach is what gives you that flawless, even canvas — and it genuinely makes the final color look richer once it's applied.
Step 6: Don't Skip the Primer
Primer gets treated as optional more often than it should be. It's not.
A good primer helps paint stick properly, keeps the color absorption even across the wall (so you don't end up with patchy sections), and stops the wall from soaking up more paint than it needs to — which actually saves you money in the long run. For outdoor walls, something like Ultra Exterior Cement Primer works well; indoors, Apollo Interior Cement Primer is the equivalent.
Step 7: Damp Proofing / Waterproofing (Where Needed)
This step isn't required for every wall, but it's essential for the right ones — exterior walls, terraces, and areas prone to seepage such as ground floor walls or walls near bathrooms.
Explore our Waterproofing Solutions range to protect your home from monsoon damage and seepage issues before applying the final coat. It's always worth discussing with your painting team whether your home's specific walls need this treatment.
Step 8: Base Coat
Some processes include an additional base coat of undercoats such as Apollo Ultra Weather Shield Undercoat — a diluted layer of emulsion — applied before the final color coat. This helps achieve better color uniformity and a stronger final finish.
Step 9: Final Emulsion (Top Coat) — Two Coats
This is the moment you've been waiting for — your chosen color finally comes to life on the walls.
-
The first coat of emulsion is applied and left to dry.
-
Once dry, a second coat is applied for full color opacity and a smooth, even finish.
For exteriors, choose a premium, weather-resistant option like Apollo Ultra Weather Shield Overcoat Exterior Emulsion, built to withstand sun, rain, and pollution while keeping your home's color vibrant for years. Browse our full Exterior Paint Collection for more options.
For interiors, Apollo Royal Xcel Shine Luxury Interior Emulsion is a popular choice for living rooms and bedrooms, offering excellent washability and a rich, elegant finish. Check out the Interior Paint Collection to find the right shine and finish for every room.
Not sure which shade suits your home? Browse our Color Shade Card for inspiration before you decide.
Step 10: The Final Look-Over
The last step is really about attention to detail — checking for missed spots, uneven patches, or drips, and cleaning up the edges around switches, doors, windows, and ceilings. This is the part that separates a decent paint job from one that actually looks professional.
How Long Does All This Actually Take?
| Stage | Roughly How Long |
|---|---|
| Wall curing | 30–60 days |
| Surface prep (cleaning + repairs) | 1 day |
| Wall putty (2 coats + sanding) | 2–3 days |
| Primer | 1 day |
| Paint (2 coats) | 2 days |
| Touch-ups and finishing | 1 day |
So, not counting the curing time, you're looking at about 7–8 days of actual painting work.
Mistakes Worth Avoiding
A few things trip up even careful homeowners:
- Starting to paint before the walls have fully cured
- Skipping primer to save time
- Settling for one coat of paint instead of two
- Ignoring damp patches instead of treating them properly
- Choosing a color without testing it on the actual wall first
- Hiring painters without checking their experience
- Using interior paint outdoors, or exterior paint indoors
A Few Quick Questions People Usually Ask
How long should new walls dry before painting? Usually 30–60 days, though it depends on your local weather and humidity.
Can I skip the primer? You technically can, but it's not a good idea — you'll likely end up with uneven color and paint that doesn't last as long.
How many coats of paint do I actually need? Two, generally, once the wall has been properly puttied and primed.
Should waterproofing happen before or after painting? Before — always. Especially for exteriors, terraces, and anywhere prone to moisture.
Do interior and exterior walls really need different paints? Yes. Exterior paint is made to survive sun, rain, and pollution. Interior paint is built more for washability and finish, since it's not fighting the elements.
The Whole Process, In Short
- Send photos for a free design preview
- Let the walls cure (30–60 days)
- Clean the surface
- Repair cracks and holes
- Apply putty — two coats, sanded smooth
- Apply the right primer for interior or exterior
- Waterproof where needed
- Apply an undercoat, if required
- Apply the final emulsion — two coats
- Do the final touch-ups
Ready to get started? Send clear photos of your home to Apollo Paints on WhatsApp at 9748274211 for a free customized color preview before you commit to anything.
Written by Umesh (Abishek)
PR & Business Growth Executive (Graphic Design & Branding)


